
Step-by-Step Guide to Installing Vinyl Plank Flooring
If you’re looking for a durable and stylish flooring option that’s easy to install, vinyl plank flooring is just what you need. It’s affordable, low maintenance, and most importantly – it’s versatile enough to work in any room of your home, including your modern kitchen, bathroom, and even your outdoor spaces, such as your deck or patio!
The best part about these floors is that, with a little bit of know-how and the right tools, you can install them yourself! In this step-by-step guide, I’ll take you through everything you need to know to install vinyl plank flooring like a pro, from preparing your subfloor to laying down the planks. So, roll up your sleeves and get ready to transform your floors in no time!
Plan the Layout
Why is planning the floor layout so crucial? Well, this step will help you determine the amount of material you’ll need, where to start laying the planks, and how to cut them to fit around obstacles and walls. Plus, it’ll ensure that your finished floor looks great and has a professional appearance.
You’ll want to start by measuring the room’s dimensions and sketching out a rough floor plan on paper. This will give you a visual representation of the space you’re working with, and it will help you to identify any potential challenges or obstacles that may need to be addressed.
Prime Your Subfloor
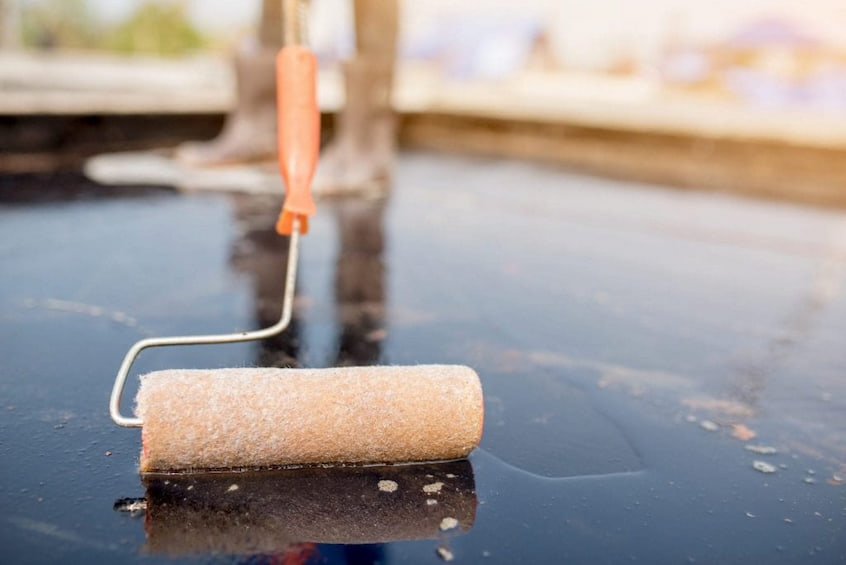
So, what goes under floor planks? Before you start applying adhesive and laying down your vinyl planks, it’s essential to prepare the subfloor properly. And a crucial part of this process is applying a primer.
If you’re working with a concrete subfloor, you’ll need a concrete primer specifically designed for flooring applications. This type of primer will help seal the concrete, create a smooth and even surface, and promote better adhesion of the vinyl planks. It typically comes in a liquid form, and you apply it with a roller or brush.
If you’re working with a wooden subfloor, you’ll need to use a flooring primer that’s compatible with wood. This type will help to seal the wood and prevent moisture from seeping into the planks, which can cause issues over time.
Applying a vinyl floor primer is a relatively straightforward process, but it’s important to follow the manufacturer’s instructions carefully. You’ll need to make sure the subfloor is clean and dry before applying the product, and you may need to wait a certain amount of time for it to dry completely before continuing with the installation.
One great thing about the Kiesel concrete primer range is that it’s specifically formulated to provide excellent adhesion between the subfloor and the vinyl planks. This means that your flooring will be more stable and durable over time, and you won’t have to worry about the planks coming loose or shifting around.
Another benefit of the Kiesel range is that it helps to prevent moisture from seeping into the subfloor. This is particularly important if you’re installing flooring in a basement or other area that’s prone to moisture, as excess moisture can cause the subfloor to warp or rot over time.
This primer for vinyl is also easy to apply, with a simple roll-on or brush-on application process. And because the liquid is low-odour and fast-drying, you won’t have to worry about any lingering fumes or lengthy drying times.
Apply Adhesive
After applying the flooring primer to your subfloor, the next step is to apply adhesive. This is what holds the vinyl planks firmly in place and prevents them from shifting or coming loose over time. There are several types of adhesives available for vinyl, including pressure-sensitive, releasable, and permanent adhesives.
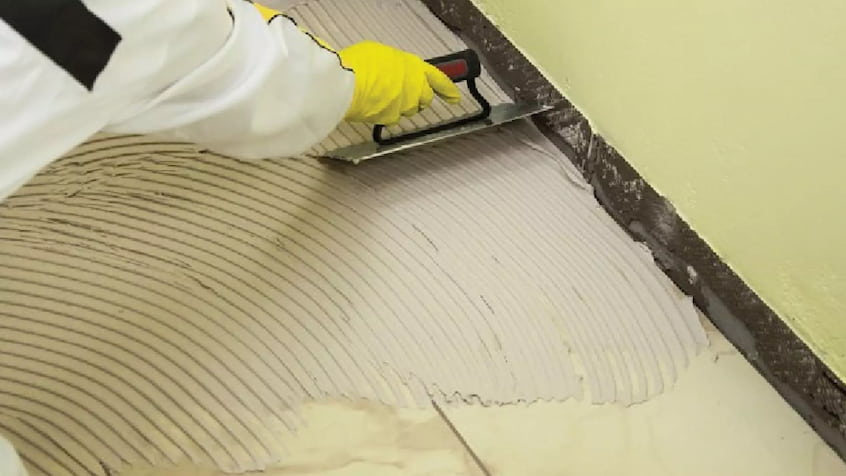
Pressure-sensitive adhesive is a popular choice because it’s easy to use and provides a strong bond. This type of adhesive is typically applied directly to the subfloor with a trowel or roller, and the vinyl planks are then pressed firmly onto the adhesive. The releasable adhesive is another option, which allows you to remove and replace the vinyl planks if needed. Permanent adhesive is the most secure option and provides a long-lasting bond, but it’s also the most difficult to remove.
Measure and Cut the Planks
After the adhesive has been applied to the subfloor, it’s time to measure and cut the planks to fit your room. When cutting the planks, it’s important to leave a small gap around the edges of the room to allow for expansion and contraction due to changes in temperature and humidity. The manufacturer’s instructions should guide the recommended gap size for your specific flooring.
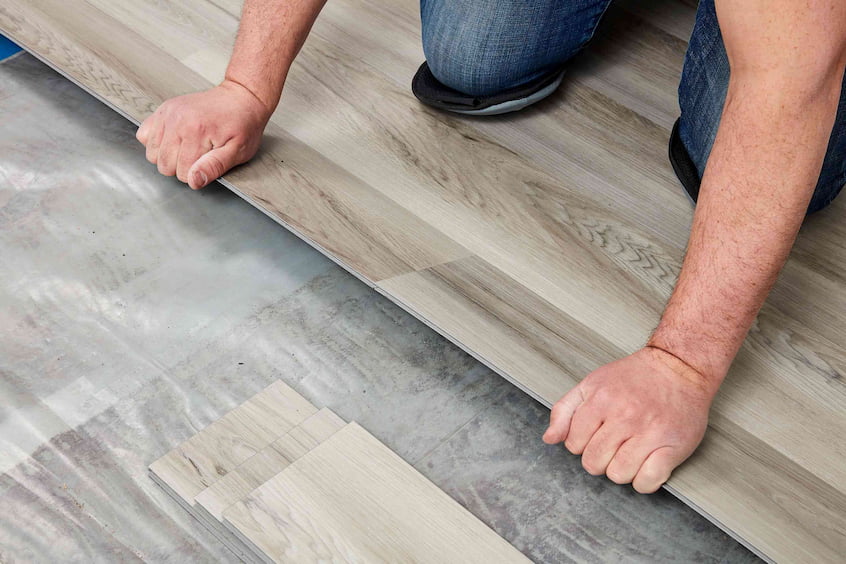
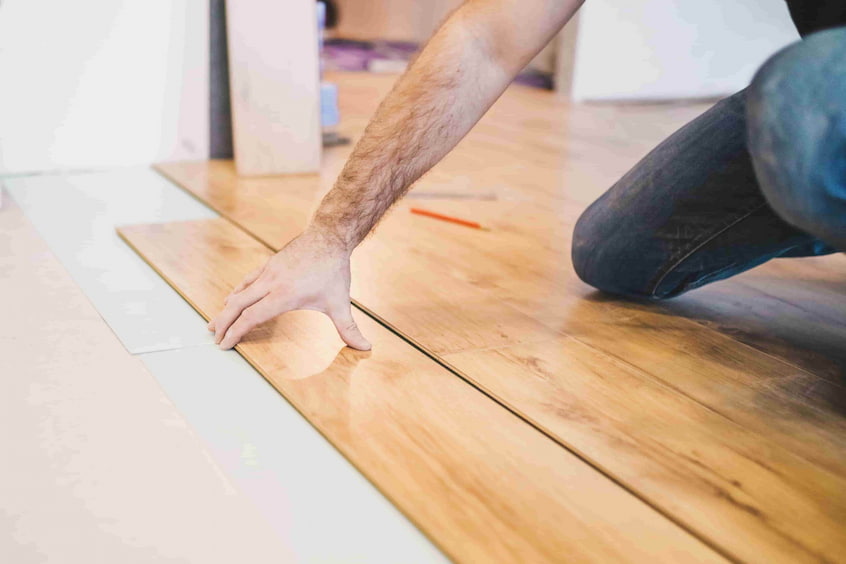
Apply the Planks
Start applying the planks at one end of the room and work your way toward the other end. This will help to ensure that they’re laid down in a consistent and orderly manner. As you lay down each plank, be sure to press it firmly into place on the adhesive, working from the centre of the plank outwards. This way, your floor will securely attach to the subfloor and there won’t be any air pockets or bubbles trapped underneath.
As you work your way across the room, be sure to periodically check your work to ensure that the planks are fitting together properly and that there are no gaps or overlaps. If you do notice any issues – address them right away to prevent any further problems!
Enjoy Your New Floor
After all the hard work of planning, priming, and laying down the flooring, it’s time to enjoy your brand-new floor! Your new flooring should look beautiful and be a durable and long-lasting addition to your home or space. With proper care, it should continue to look great and provide a comfortable and inviting surface for years to come!