

7 Pillar Candle Centrepiece Ideas for Weddings and Events
There’s a moment at every great reception when the lights go down, the room sighs, and a hundred little candles go up. That hush, with everyone suddenly looking a lot more beautiful and leaning in a little closer, is the quiet superpower of the pillar candle.
Pillar candles are the real workhorses of event styling. They’re solid, they’re sculptural, and they come in a far wider range of shades than you’d imagine. From a backyard wedding in the Hunter Valley to a corporate dinner in Melbourne or a 40th in a Queensland veranda, here’s how you can take a fairly basic decoration and turn it into a focal point that people will be talking about long after the last dance.
Start With the Cluster
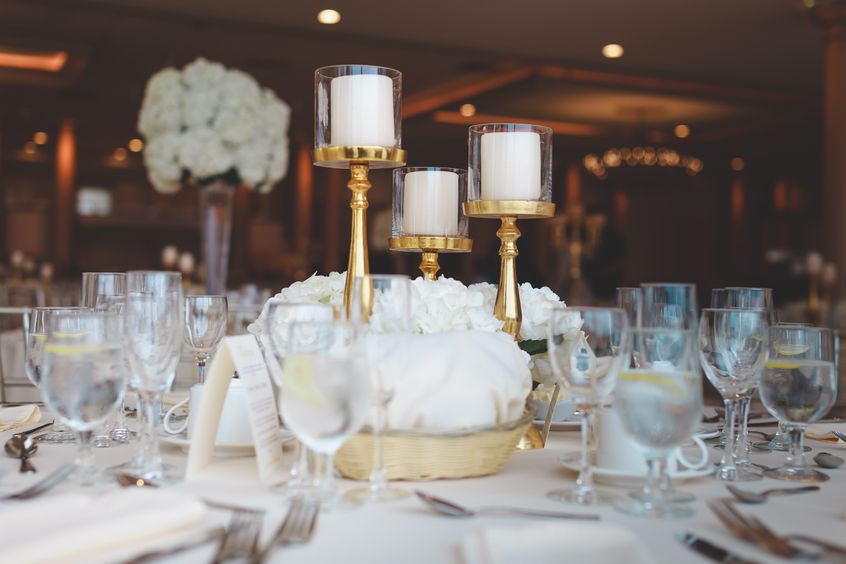
The easiest way to create a stunning atmosphere with candles is to place them in clusters. Go with odd numbers: three, five or seven pillars of varying heights down the middle of your table, with flames at different levels. It creates a wonderful organic, layered effect, like a little candlelit skyline. A tried-and-true trick is to mix a tall 20cm pillar with a mid-height 15 cm and a very short 7.5cm. Keep them in the same colour family (say ivory, oatmeal and latte), and it all looks purposeful rather than matchy-matchy.
Let Glass Do the Heavy Lifting
Slip a pillar into a clear glass cylinder, and you’ve got instant polish. The glass acts as a shield for the flame from any stray breeze (a genuine bonus at an outdoor Australian function where a sea breeze or a gusty afternoon is always a possibility), and it gives a lovely glow. Try varying the cylinder heights on the table, or nest a slender pillar within a wider vessel and tuck a few sprigs of greenery around it. Your guests will think you’ve hired a stylist. Your secret is safe with us.
Go Low and Lush with Florals
Taller arrangements will just end up blocking the conversation, and no one wants to be talking to a delphinium. Go low and generous instead: a trio of pillars on a pillar plate, ringed with a wreath of flowers, foliage or dried grasses. For a garden wedding, you could go for sage, eucalyptus and some soft white flowers. For something a bit more rich and sumptuous, you could have burgundy pillars with deep red roses and a bit of ivy. Artificial flowers are a very good option if you’re in a hot climate, as they cope with the heat and can be arranged well in advance so you’re not left with anything wilting before the speeches.
Play With Colour
White and ivory will always be the classics, but colour pillar candles are definitely in vogue at modern events. Some palettes worth borrowing:
- Coastal calm: pale blue, sea mist and stone for a Mornington Peninsula or Byron Bay feel.
- Terracotta dreaming: baked clay, peach and toffee, ideal for a sun-warmed Mediterranean mood.
- Moody romance: plum, wine and charcoal for an evening affair with a bit of serious drama.
- Soft and sweet: blush, lilac and powder blue for the pastel lovers.
Don’t be scared to mix two or three tones in one palette. Candles in slightly different shades add depth in exactly the same way that a painter would layer colour.
Build a Runner of Light
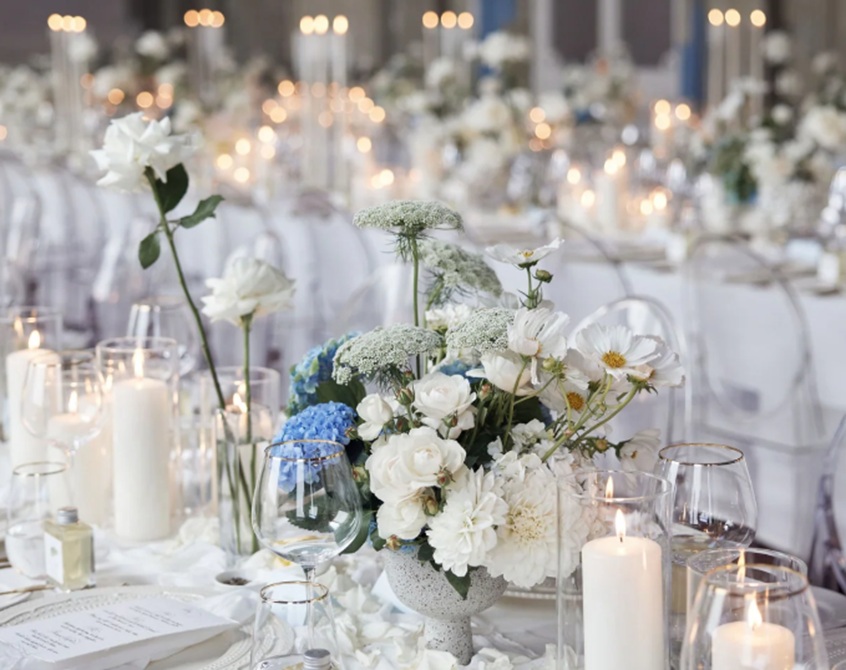
For long banquet tables, think of your candles as a river. Run a line of candle pillars down the length of the table (varying heights and widths) with small gaps for bud vases, some foliage and a few scattered tealights. A linen or hessian runner underneath is the key to a soft look. It’s a great way to use up your bulk candles without the table looking lopsided. Just repeat the same pattern every so often and you’ve got a very coherent design throughout the room.
Add Texture with Ribbed and Statement Pillars
Smooth is lovely, but texture is where things get really interesting. Ribbed and sculptural pillars are a real treat in terms of how they catch the light, creating all sorts of little ridges of shadow which are absolutely stunning in photographs. Use one as your feature piece, surrounded by plain pillars in the same colour, and it really does stand out.
Think About the Plate
Wax drips, and a polished table needs protecting. A pillar plate of glass, marble or acrylic will do the job and can also be a styling feature. Marble is of course the more luxurious option, while a glass plate is more discreet and lets the candle do the talking.
Practical Tips Before the Big Day
- Plan your numbers. As a general guide, an 8-seater table looks absolutely great with 5 to 7 pillars in a cluster. Longer tables will require more, so do one out at home first.
- Trim the wick. Before you light it, trim the wick down to about 5mm. This will give a steadier flame and reduce the amount of smoke and soot.
- Burn smart. Let a pillar burn long enough for the wax pool to reach the edges on its first use (this helps to prevent tunnelling).
- Mind the venue. A lot of venues have rules about open flames, so check that early. LED pillars are great as a backup in a venue where you can’t have open flames, or for tables that have kids/pets/dancers etc. nearby.
- Order early. Colours can sell out, and pre-order dispatch dates can stretch, so it’s worth locking in your candles well in advance, particularly in peak wedding season.
The Glow That Ties It All Together
Great centrepieces don’t have to be complicated. A few well-chosen pillars, a considered colour story and a bit of greenery can turn a plain table into something that actually feels like an occasion. Keep it simple, play with height and let the flicker do the work. After all, no one remembers the exact napkin fold. They remember how the room felt: warm, glowing and just a little bit enchanted.
