
Acrylic Paint Pouring: Essential Supplies and Tips to Get You Started
Finding yourself bored of all your current interests can be depressing. But no need to worry, we live in a world of endless possibilities. You might be looking for a new hobby that will get you off your couch and interact with nature or one that lets you stay in the comfort of your home and helps you channel your creativity.
If you fall into the second category, acrylic paint pouring might be just what you need.
What Is Paint Pouring?
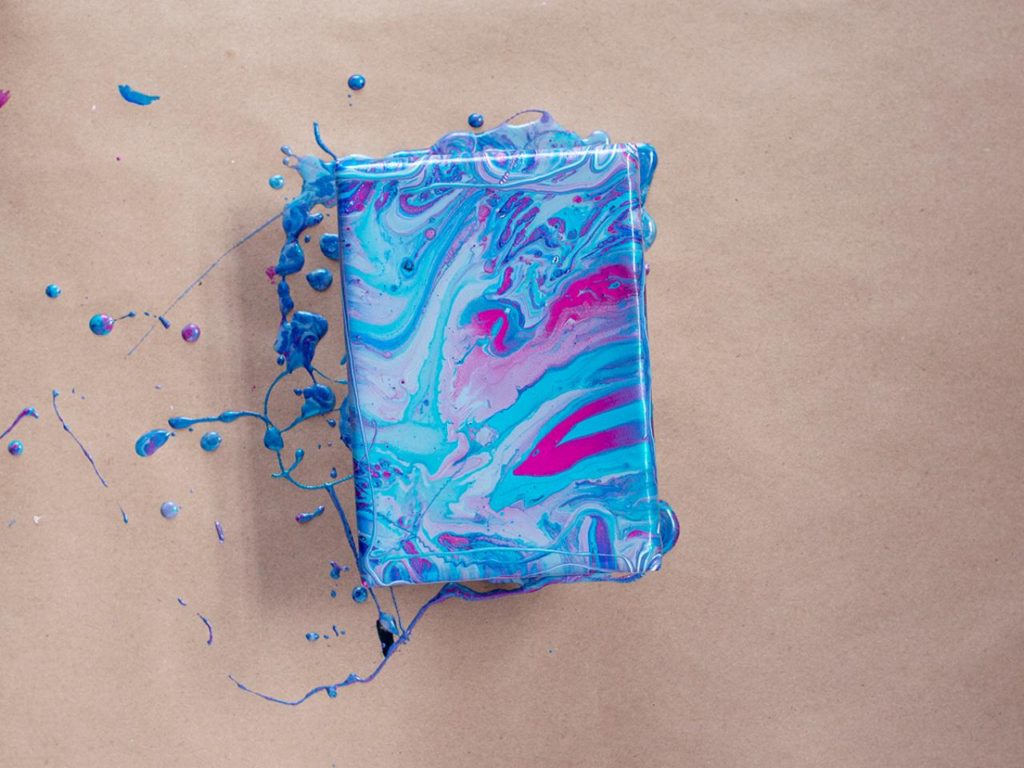
Paint pouring has gained much interest in the last few years. This technique is done by mixing acrylic paints as well as a “pouring medium,” and pouring them onto the chosen surface in a variety of ways. The end product is a very spontaneous, vivid abstract art creation that is reflective of life’s most stunning features. The popularity of paint pouring follows the movement in marbling and geodes. The great thing about abstract art becoming popular is that it’s simple to create and there isn’t a way of you doing it wrong. Pour painting is simple. You basically just pour the paint onto your surface and let it drip naturally. It’s a messy process, so make sure you get enough covers and a dish or container to work in.
Essential Supplies for Acrylic Pouring Paint
A Lot of Paint!
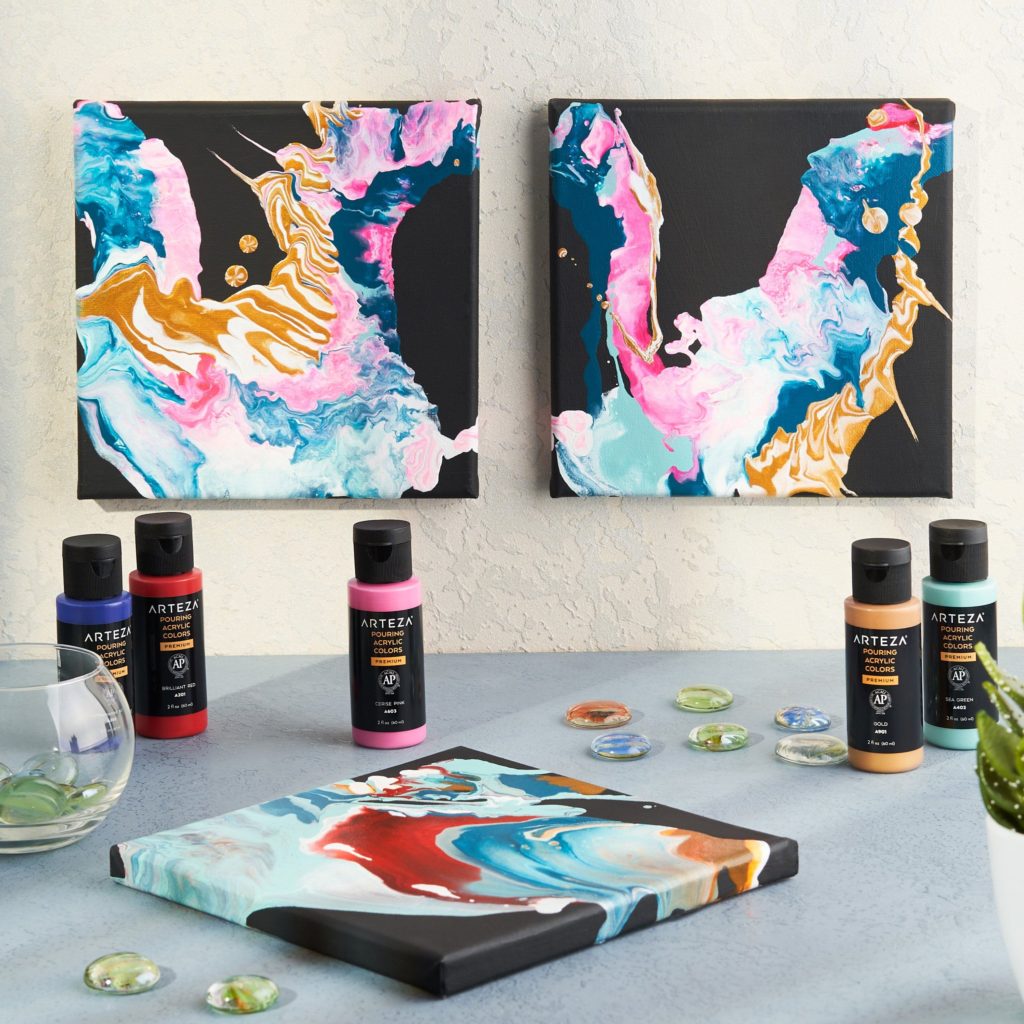
It comes as no surprise that the most crucial item to have for making pours is paint! For beginners, going with bigger bottles of more affordable paints in basic colours is a smart idea. After that, you can sprinkle some unique colours and top them up with some fancy acrylic pouring paints like pearls, metallics, and glitters. You may start with a simple acrylic fluid paint set and add more diversity later if you’re on a budget or just want to give pouring a try. Keep in mind to stock up on black and white since you’ll most likely be using those two more than any other colour.
While getting paint, another essential item you’ll need is pouring fluid or as others may call them, pouring medium. Pouring fluids are used to improve the properties of acrylics. Any proper fluid will not alter the colour or finish of the paint with which it is mixed. Simply said, high-quality mediums allow the paint to flow more easily, resulting in superior pours. They thin out your acrylic paint, allowing you to spend extra time working with them on the canvas.
When using a professional acrylic pouring solution rather than a less expensive option, there are fewer chances of defects developing when your paint dries. Because pouring fluid is self-levelling, you can mostly expect a clean, smooth paint coating. It also erases bubbles more rapidly, decreasing the possibility of small air pockets staying stuck in the final painting. Therefore, unlike water, your medium will not alter the overall look of the paint. It simply creates better capabilities for working with the paint.
If you’re a little impatient and don’t want to waste time mixing colours and mediums, there is a solution. You can get ready paints that have already been mixed with pouring fluid so you don’t have to waste your time doing it yourself.
A Surface for Pouring
Acrylic pour painting can be done on almost any solid and flat surface that has been properly prepared for acrylic painting. Some painters use standard stretched canvases, while others choose canvas boards or painting panels. But don’t assume those are your limits. You can pour on wood, tile, specific papers meant to handle acrylics, glass, fabric, pottery, etc. It is entirely up to you!
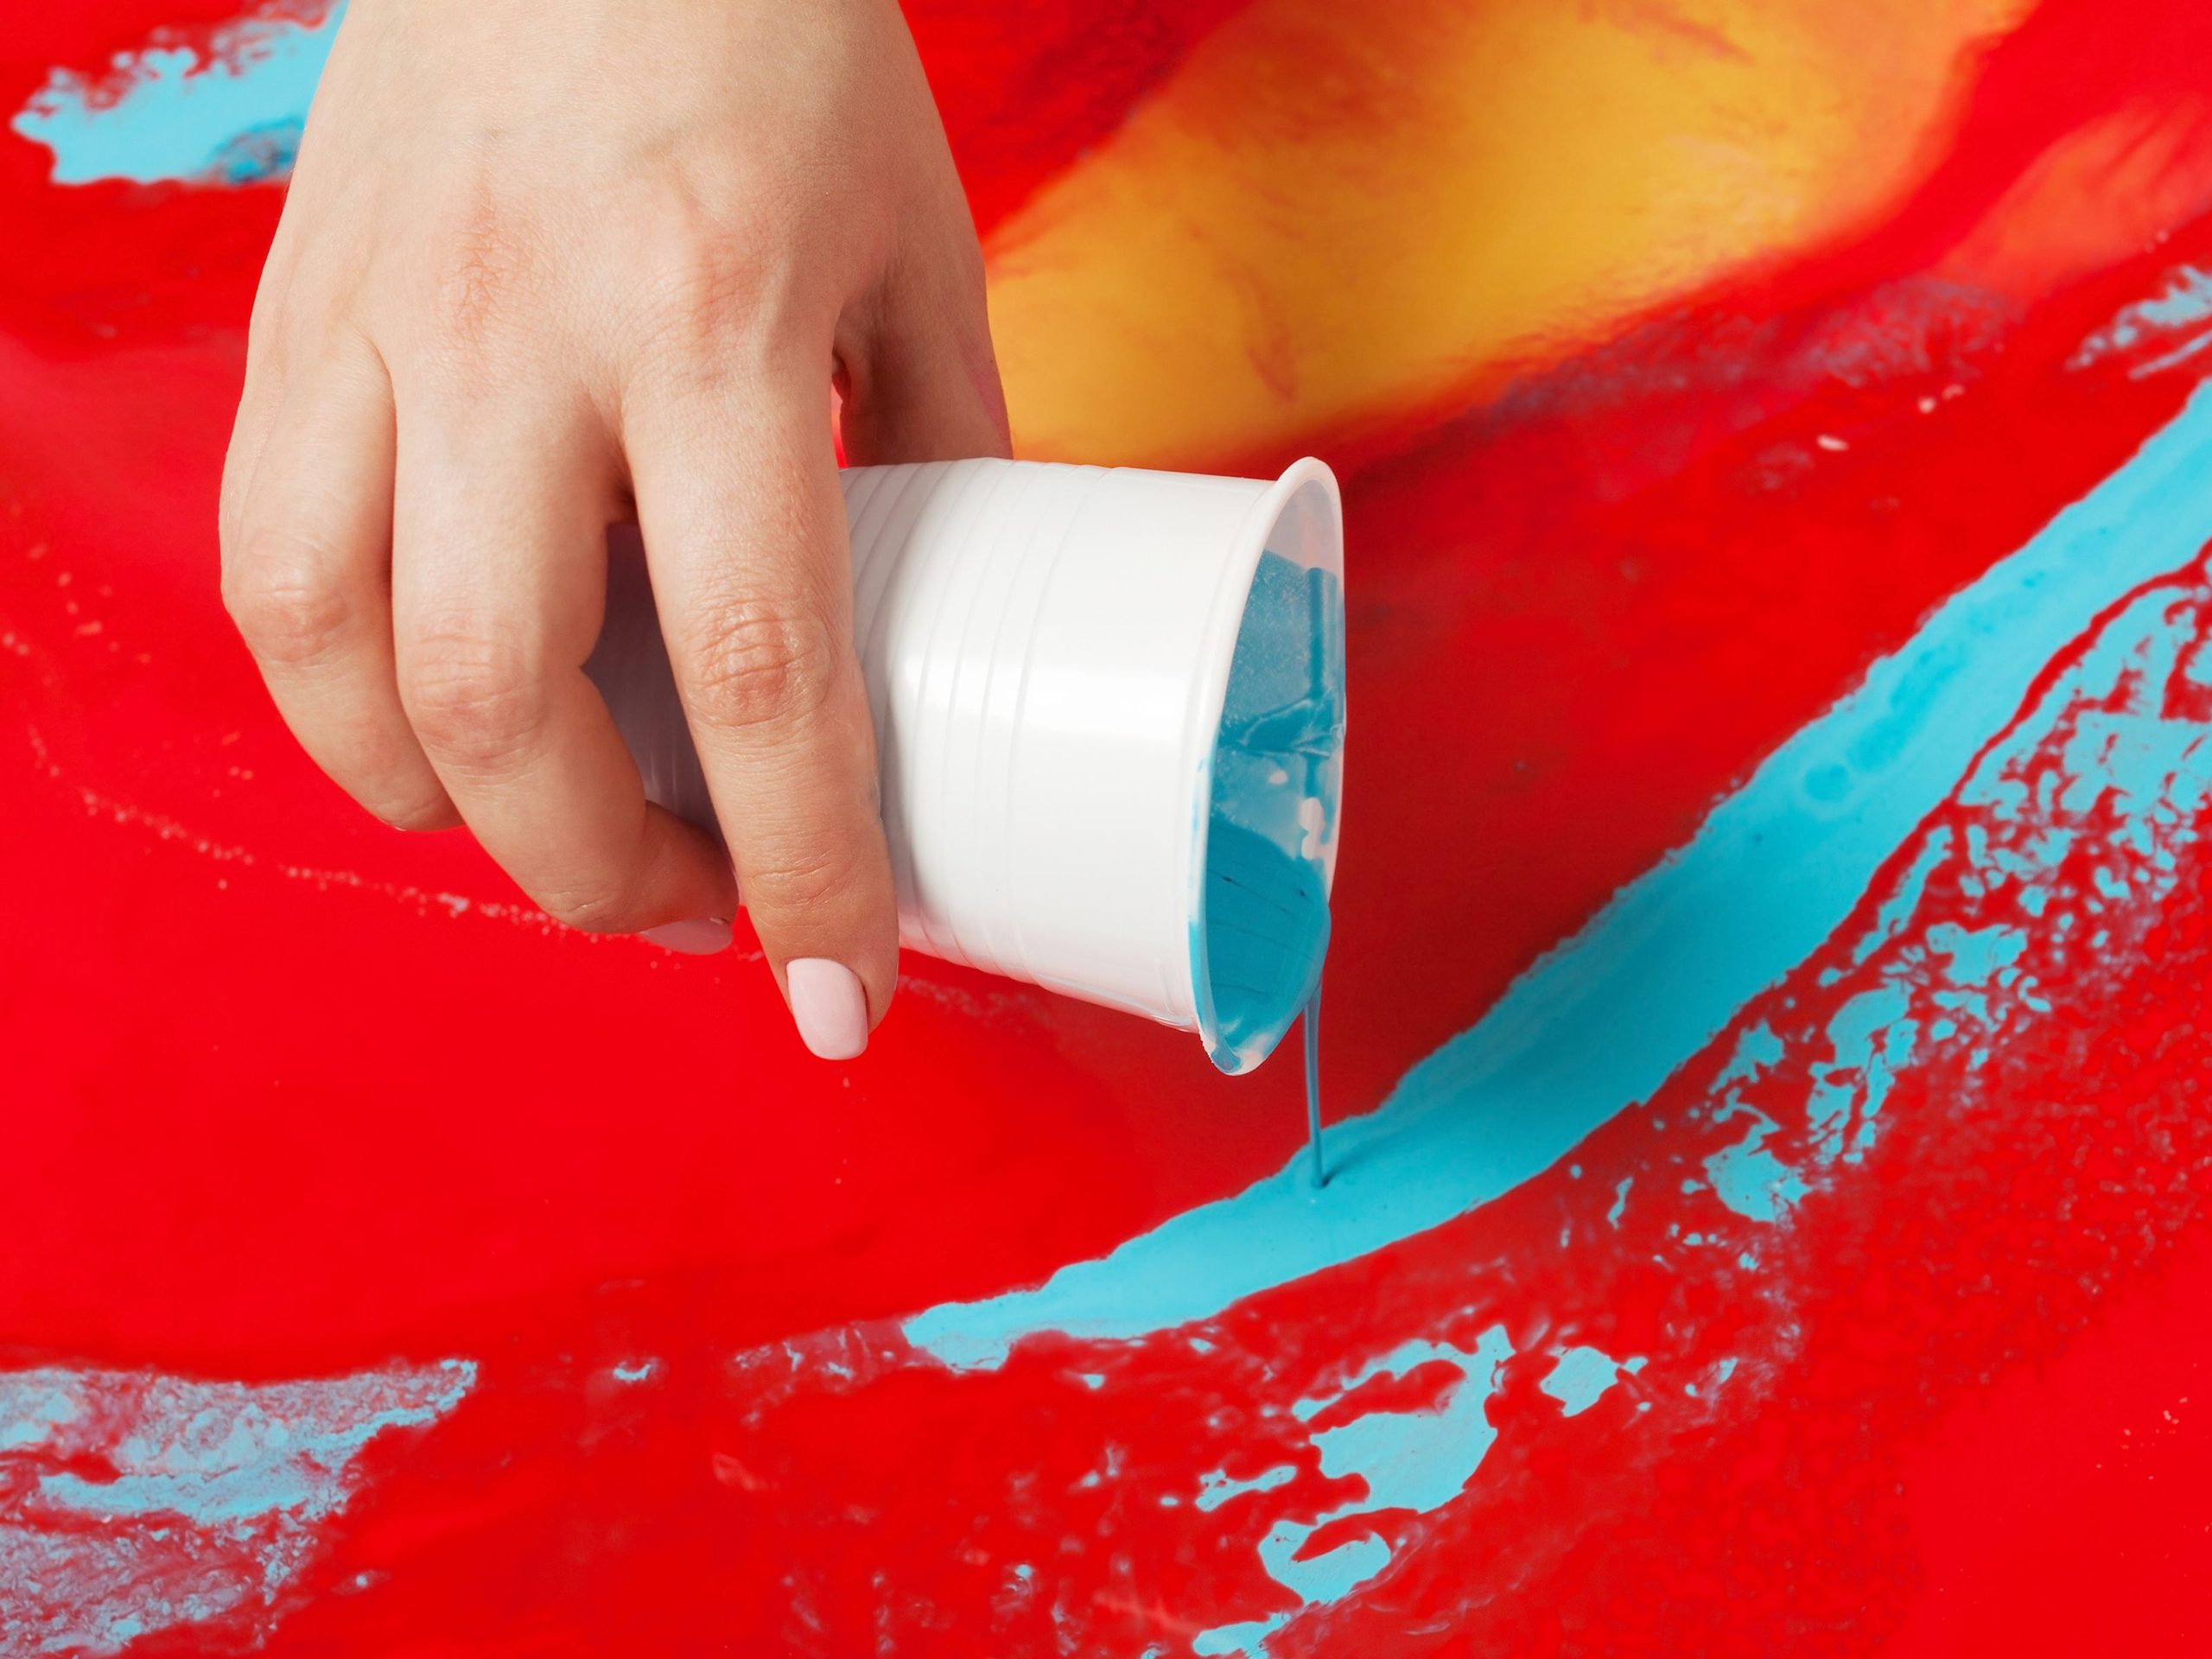
Pouring Cups and Cups with Lids
Now for the actual pouring step: Get your hands on a bunch of plastic cups, it’s best to buy them in bulk because you will be using a lot of them. Besides cups for pouring, you’ll need cups or some kind of containers to keep your leftover paint in so it doesn’t dry out and go to waste.
Protect Your Surfaces
Make sure to get disposable table cloths to protect the surfaces around your painting station. You can also use large garbage bags, cling wrap or any kind of material that will stop the paint from staining your floors, carpets, tables, etc.
If you don’t want your hands to get messy you can also use latex or some type of waterproof gloves.
Before You Get Started
Before you let your creativity flow, there are a few things you need to make sure of. First, make sure that your surface is prepped for acrylic painting. Second, your painting surface needs to be fully levelled. Lopsided surfaces can end up causing your paint to pool and slide off, resulting in an uneven paint layer. Third, elevate your surface. By doing this, you’re preventing the excess paint from pooling around your surface and having difficulties removing it, especially when it dries.
You can use any type of container, wooden or cement blocks, anything that you have laying around the house that you don’t mind getting some paint on. Lastly, make sure your surface is clean, remove any type of dirt, dust or other particles that can get on your painting and potentially destroy it.
The Fun Part
You’ve mixed your acrylic fluid paint (or gotten already mixed ones), set up your painting station and you’re ready to start pouring. There are many different ways of doing pouring art but for beginners, we recommend the following two simple techniques.
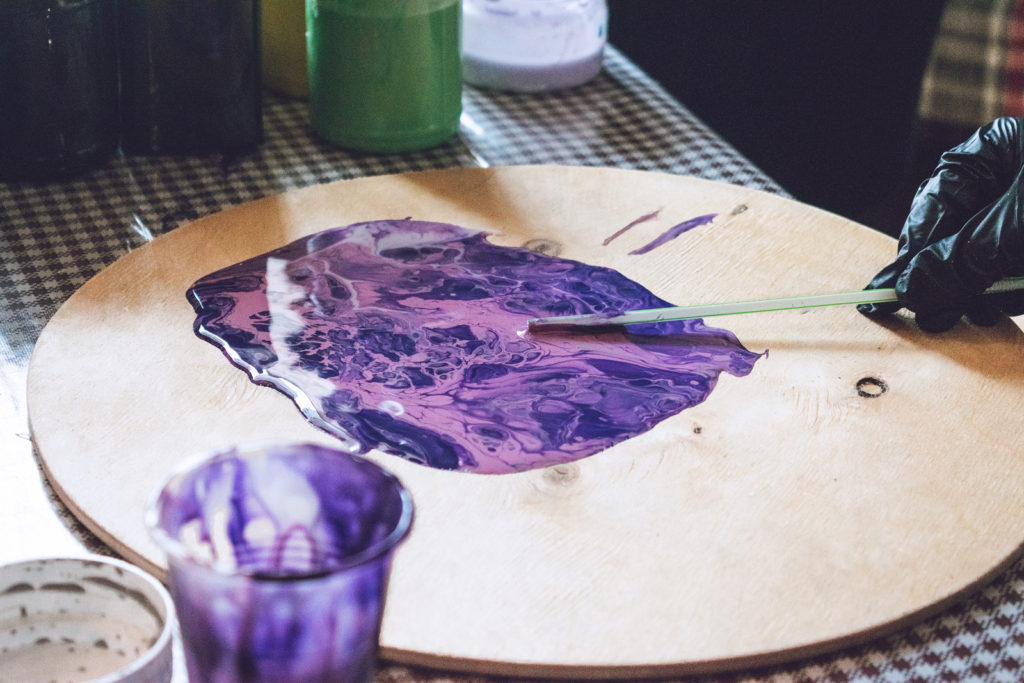
The Traditional Pour
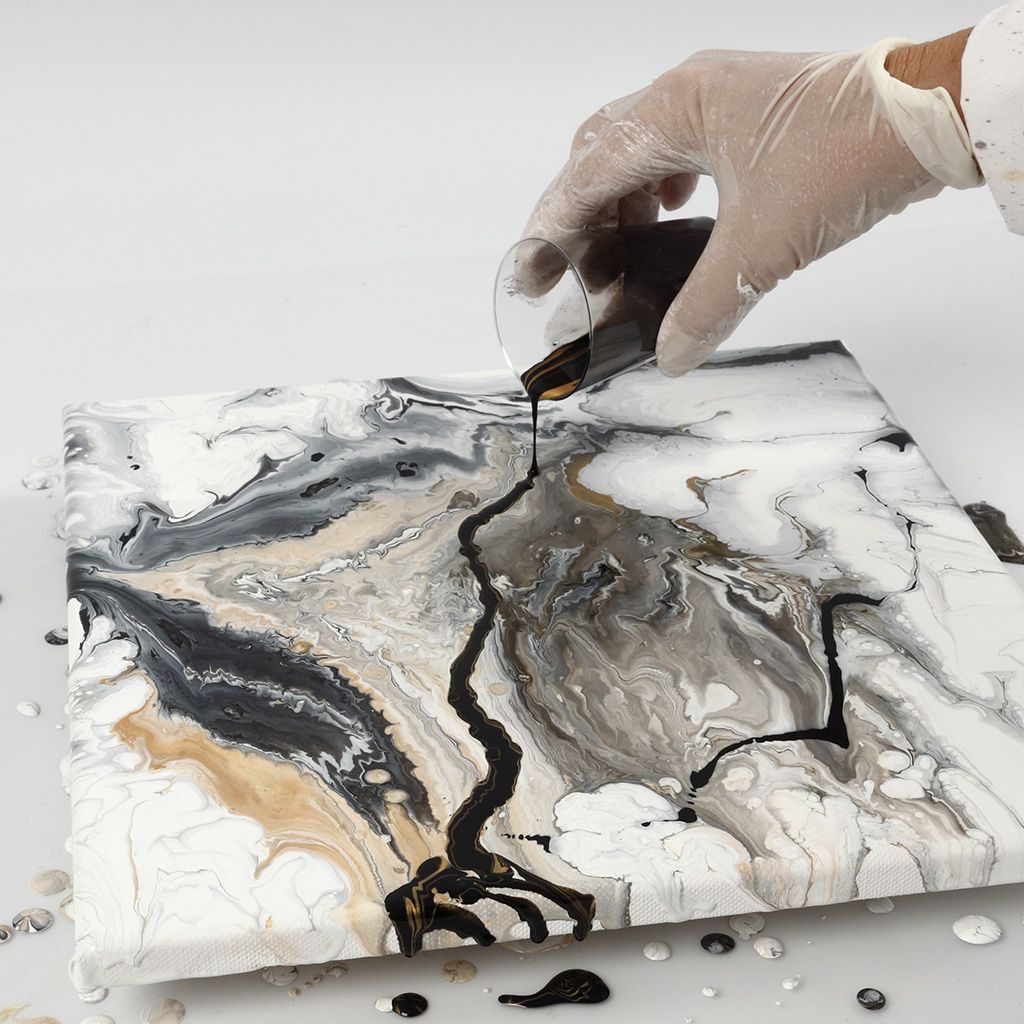
It’s done by firstly putting all your chosen colours in separate cups and then pouring them one by one in your desired pattern. By using this method, you have more control of where the colours go and how they interact. After you’ve poured all of them, pick up your surface gently and start tilting it in the directions you want the colours to drip. Once the whole surface has been covered put it back and let the excess paint drip off.
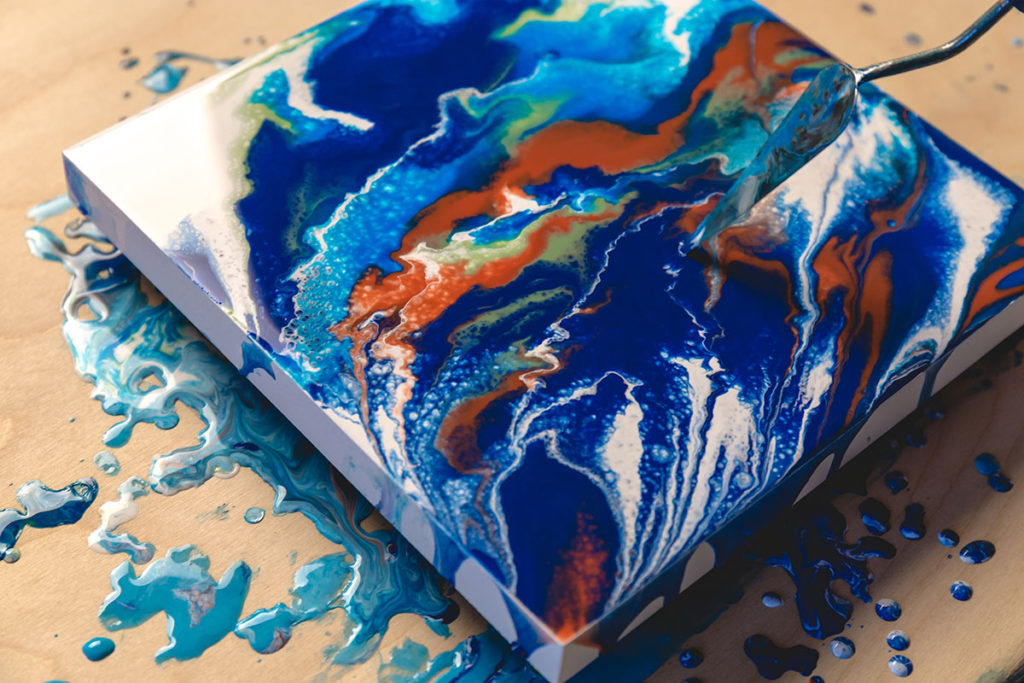
The Dirty Pour
As the name implies, this method can be a bit messier. You will be pouring all of your colours in one cup. Try pouring on different sides of the cup and at different speeds to see how that will affect your outcome. With pouring faster your paint will fall to the bottom, and by going slower it will stay at the top. Be sure to be gentle when pouring the colours out on the surface since you don’t want them to fully mix. Once again, slowly tilt your surface until it’s covered and let it drip off the excess paint.
Using only these two methods might seem boring at first but remember, you have endless colour possibilities. And even if you use the same colours no two paintings will look the same because of the nature of the way they spread and slide. Now that you’ve had hours of fun, it’s time for the final step, letting them dry. The time it will take to dry varies from paint to paint. Just let time do its job. It’s best to leave your art pieces on your painting station because more paint might drip off and ruin whatever you put it on