
Brewing Bliss: How to Craft Delicious Beer at Home
Imagine a warm, sunny afternoon, the gentle rustling of leaves, and the comforting embrace of your patio sofa. The only thing missing is a cold, crisp beer that you crafted with your own two hands. Homebrewing, the art of turning humble ingredients into liquid gold, invites you to savour life’s simple pleasures. Crafting your own beer is satisfying, and this guide will show you how to make it happen. So, get ready to chill on your patio with a cold beer in hand, knowing that it’s a product of your own brewing prowess.
Gather Your Equipment
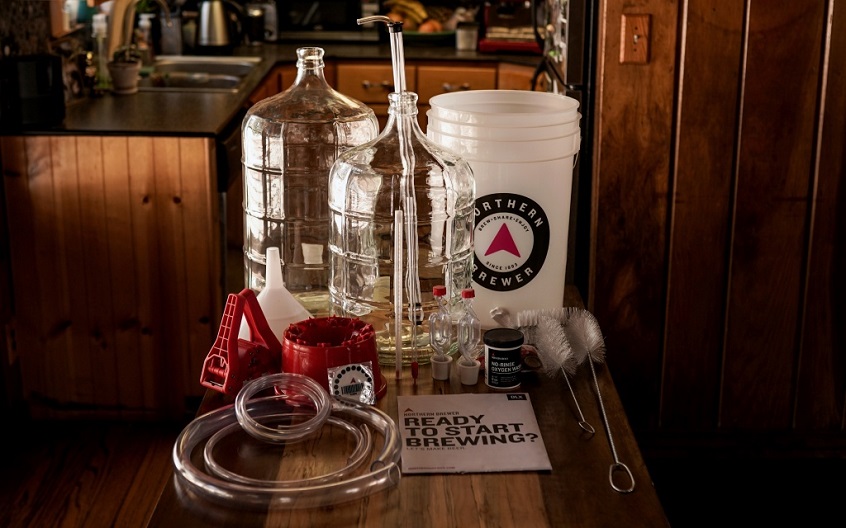
So, what do I need to make beer at home? First, you need to gather all the equipment you’re going to need. These tools will help you transform simple ingredients into beer.
- First up, you need a large pot. Think of this as your cauldron of beer magic. It should be big enough to hold at least 15-18 litres of liquid;
- Next, find a fermentation vessel. This is where all the yeast action is happening. A food-grade plastic bucket or a glass carboy will do the trick;
- You’ll also need an airlock for your fermentation vessel. It’s like your beverage’s breathing apparatus, letting gases escape during fermentation while keeping nasty stuff out;
- You also need a racking cane. This fancy tool helps you transfer your beverage between containers without making a mess;
- You need some bottles to store your beer once it’s ready. They can be regular ones with caps or swing-top bottles, depending on your preference;
- Grab some sanitization supplies because keeping things squeaky clean is crucial to prevent contamination. Think of it like prepping your brewery for surgery;
- Keep that brew at the right temperature with a trusty thermometer. You’ll need it to monitor the heat during the brewing process;
- And for those who want to get all sciency, pick up a hydrometer. This gadget measures the specific gravity of your beer, which helps determine the alcohol content.
Choose a Recipe Kit
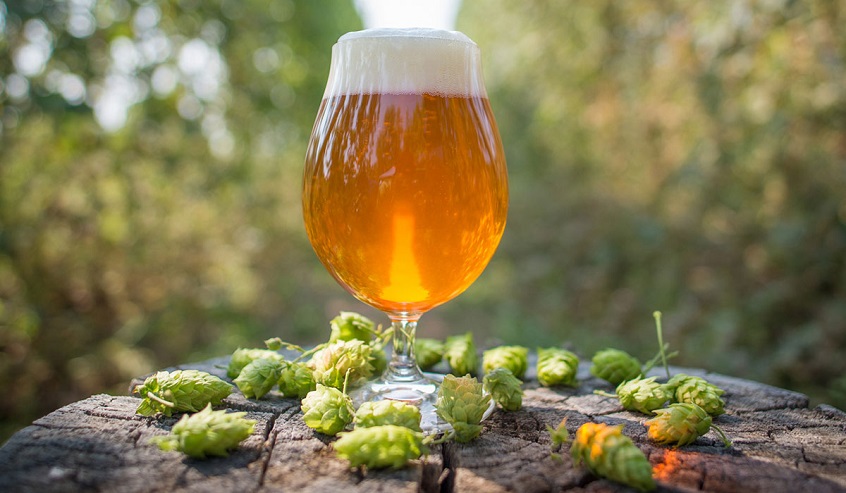
Now that you have your brewing gear ready, it’s time for the most exciting step: choosing the perfect recipe kit! Think of it as picking out the ingredients for your culinary masterpiece but with a beery twist. If you’re into IPAs or something fruity and refreshing, I recommend these hoppy IPA home brew kits. They’re the rock stars of the beer world, popular for their bold flavours, hoppy goodness, and a touch of bitterness that just hits the right spot. Whether you’re into the classic American-style IPA with citrusy hops or prefer something more exotic like a New England IPA bursting with tropical fruitiness, you’ll find an IPA brewing kit online that fits your preferences.
If you’re a newbie just dipping your toes into the homebrewing world, fear not. There are beginner-friendly kits that come with clear, step-by-step instructions. And if you’re a seasoned brewmaster looking for a challenge, there are more advanced options too. These IPA home brew kits let you play around with different hop varieties, malt profiles, and even yeast strains to craft your masterpiece.
How Do I Pair Beer with Food?
When pairing beer with food, you create a symphony of flavours that dance on your taste buds. Whether you’re hosting a dinner party or just looking for an IPA beer kit to elevate your everyday meals, this art is both fun and delicious. If you love the strong flavours and heat of hibachi dishes like spicy tuna or beef with a lot of spices, an IPA can be your go-to. The hops in these beverages can complement the spiciness and create a pleasant contrast.
The hoppy bitterness of IPA brewing kits can also stand up to the heat of spicy dishes like curries, Mexican cuisine, or fiery buffalo wings. The hops complement the spiciness and provide a refreshing contrast. Lastly, IPAs are a match made in heaven for juicy burgers, pulled pork sandwiches, and anything that comes off the grill. They cut through the richness of the meat and the caramelized flavours from grilling.
Fermentation Process
Once you sanitise your equipment and everything is squeaky clean, it’s time to let those yeasts do their thing. Brew up your wort (the sugary liquid extracted from malted grains) and cool it down to the right temperature. Usually, you want it around room temperature, but it can vary depending on the type of beer you’re making. Cooling it too quickly helps prevent unwanted flavours from forming.
Next, transfer that wort into your fermentation vessel, whether it’s a glass carboy, a plastic bucket, or even a fancy stainless steel conical fermenter if you’re feeling fancy. Add the yeast, which will munch on those sugars in the wort and convert them into alcohol and CO2. Seal up your fermenter with an airlock or some other way to let that CO2 out without letting anything else in.
Fermentation can take anywhere from a few days to a few weeks, depending on the beer. Keep an eye on the airlock – it should be bubbling away as the yeast does its job. And make sure your fermenter is in a cool, dark place, away from direct sunlight.
Bottling
You can use a siphon or a bottling wand to make this process easier. Carefully fill each bottle, leaving a little space at the top for the CO2 to do its thing. Then, cap them with sanitized caps. Once you’re done, it’s time for the waiting game again. You’ll need to let them sit at room temperature for a couple of weeks (or longer, depending on the beer style) to allow that natural carbonation to develop. After this, you can pop one open and enjoy the fruits of your labour. Just remember to pour it gently to avoid disturbing any sediment that’s settled at the bottom.