
Steps to Replacing A Car’s Clutch Assembly
Replacing your car’s clutch assembly is one of those tasks that’s just difficult enough to be a headache but simple enough to do yourself. It typically takes about three hours, and you’ll need to make a few tools purchases or borrow them from your local mechanic.
Replacing Automotive Clutches
If you’re up for the task, here’s how to replace your car’s clutch assembly in four easy steps.
Step 1: Locate the Problem
The first step is always finding and identifying the problem causing your car’s symptoms. In this case, your car may be experiencing excessive friction due to a worn-out clutch assembly or lack of power due to an inadequate transmission fluid (TF) reservoir.
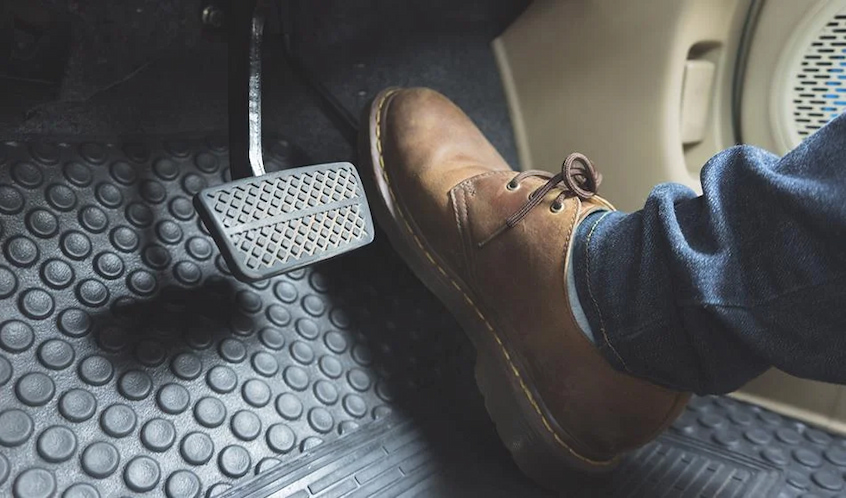
If your car is suffering from slippage, you’ll likely feel it when pushing the gas pedal and possibly hear a grinding sound as well. If there’s too much resistance, you’ll definitely feel it with every push of the pedal and may even experience a loss of power.
Step 2: Preparation
Before you start work on your car, make sure you’ve properly prepared. You’ll need a few tools, including a jack and jack stands, a wrench set including a torque wrench, an adjustable spanner or plier set and possibly an oil filter wrench if applicable. In addition to the tools, you’ll also need the parts needed to complete the job as well as new clutch assembly.
You’ll want to drain the engine’s transmission fluid (TF) before starting work so that you can replace it while you’re at it. If you do not want to replace the entire TF reservoir, make sure that the one you purchase is compatible with your car’s transmission system.
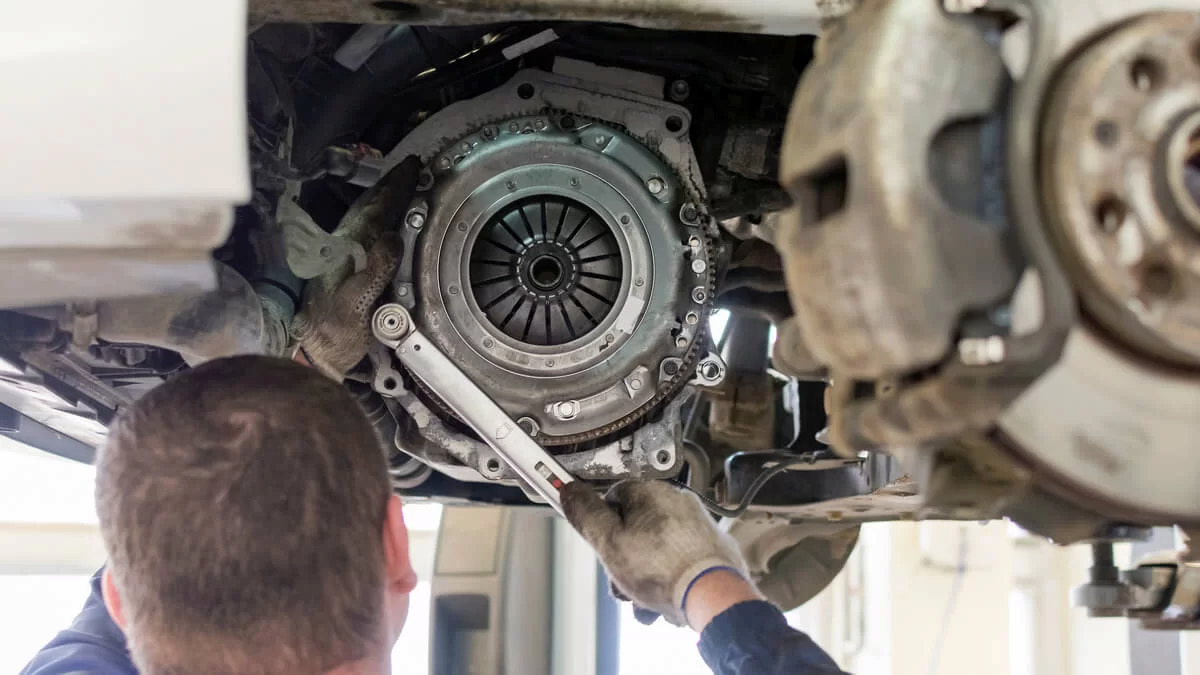
Step 3: Removal
Once you’ve prepared for the job, begin by removing the engine hood and unclipping any wires or cables connecting it to other parts of the car. Next, remove the clamp from the clutch master cylinder and disconnect its hose from the throttle body. Remove the oil filter and drain out its contents.
Remove the transmission dipstick and check that there’s enough TF in it for replacement. If not, add more until you can feel its threads with your finger at the full mark on the stick.
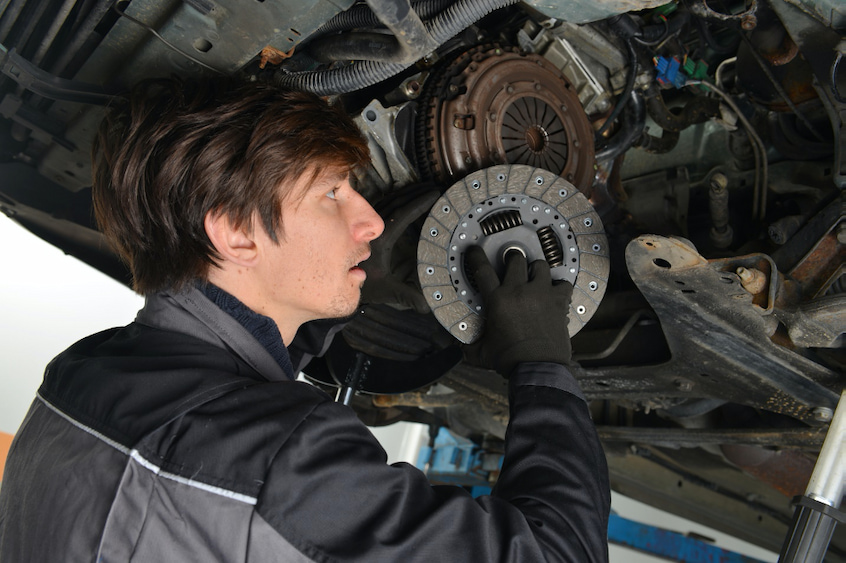
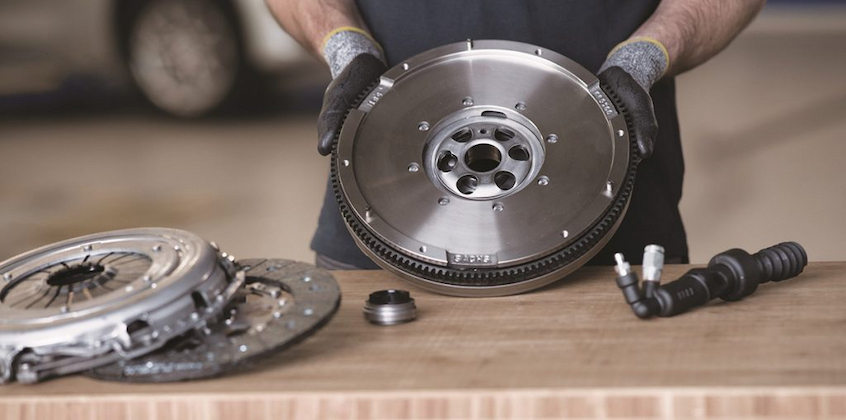
Now remove the engine oil filter housing by loosening its bolts with a wrench. Make sure to replace them once removed as they may leak if left unfixed. Unscrew the clutch assembly from the flywheel then disconnect its hose and unclamp its slave cylinder. Remove the clutch assembly from the car and place it on a workbench.
Step 4: Replacement
Replace your clutch assembly by first installing its slave cylinder into the engine bay then tightening its bolts with a wrench. Next, fit the new clutch assembly in place of the old one. Make sure to align the clutch’s hose with its master cylinder before screwing it back into place.
Fill up the transmission fluid reservoir with enough fresh fluid until it reaches the full mark on the dipstick. Screw the dipstick back into place and tighten it with your fingers. Now check that there’s enough oil in the engine for replacement. If not, add more until you can feel its threads with your finger at the full mark on the stick.
Replace all of the bolts and clips holding the clutch assembly down to their original positions then start up your car and make sure everything works properly. The last step is replacing any parts that may have been damaged during work.
Final Word
Replacing your car’s clutch assembly can be a bit of a hassle, but it’s definitely worth the effort as this job will save you money in the long run.
It’s important to buy automotive clutches meant for your specific vehicle make and model. These clutches are designed to fit perfectly into your vehicle’s transmission system, and they will provide the best possible performance and longevity.
You should check the state of your clutch assembly every once in a while to ensure that it’s working properly. When you do, make sure to check its fluid level, condition and color as well as the transmission system itself. If the clutch is making strange sounds or feels loose when pushed down, it’s time for replacement.
The transmission system is complicated, and it’s important to get it right if you want your car working properly again. If you don’t know how to do this repair, check with a mechanic first before attempting it on your own.
Common symptoms of a failing clutch include a grinding or squealing sound when starting from a stop, difficulty shifting gears and excessive engine vibration at higher speeds. If your car’s symptoms match any of these, it’s time for replacement.
Replacing the clutch assembly on your own can be quite difficult. You’ll need to have some automotive knowledge and know how to use tools in order to complete this repair successfully. If you don’t feel comfortable doing this job on your own, check with a mechanic first before attempting it.