
The Ultimate Guide to Continuous Lighting
Smartphones have all but killed off compact ‘point-and-shoot’ cameras. But they’ve yet to come close to the control and adjustability that current mirrorless and DSLR cameras provide. Not to mention picture quality. Bigger sensors definitely help in this respect, but so do optics. This, and an understanding of how light and colour determine the outcome once you press the shutter button.
Lighting is a concept that many beginners seem to struggle with, particularly artificial lighting used in studio portrait and product photography. The move from natural outdoor lighting to lighting in a controlled setting, however, opens up many possibilities. This is the same transition from Automatic camera settings, to control motion, depth-of-field, and light with the camera (or lens) set to Aperture or Shutter Speed Modes.
Photographers have three options when it comes to artificial lighting – speedlights, and strobes to freeze motion with a flash of intense light or use continuous light. For a defined and controlled setting like studios, a comprehensive studio continuous lighting kit, consisting of the main light, secondary fill light, and/or background light(s), should be high on your shopping list.
What is Continuous Lighting?
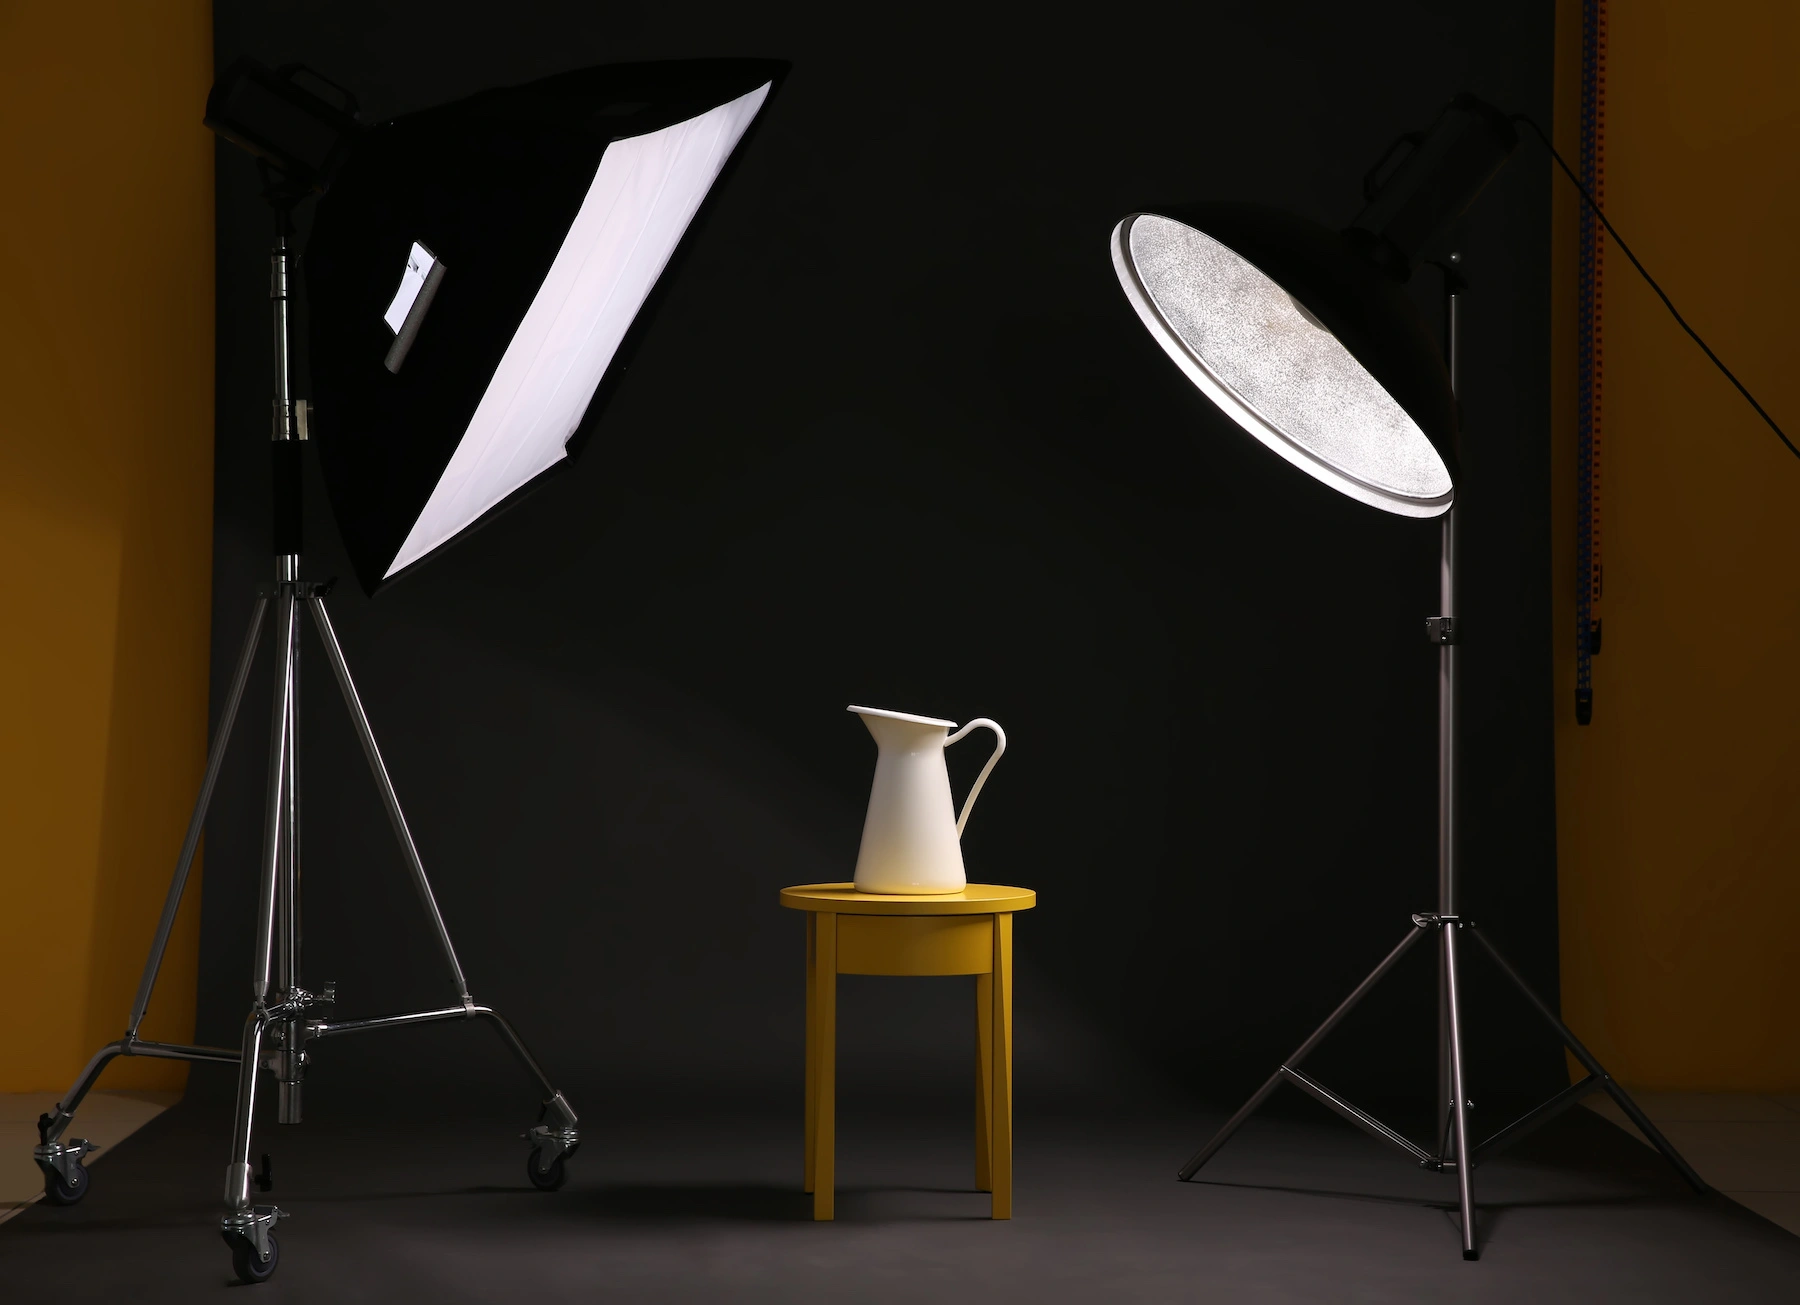
Continuous lighting is precisely that, a consistent level of lighting for the duration that you need it. It differs from speed and strobe lights in that it stays on all the time. That is until you turn the lights off. There’s no sudden and intense burst of light as with flash lighting. Instead, there’s the simplicity and freedom of precisely adjusting how light falls on your subject. This lets you conceptualise every shot, even before pressing the shutter. All you need is a little experimentation in light placement, and knowing how to get the effect that you’re after.
Where is Continuous Lighting Used?
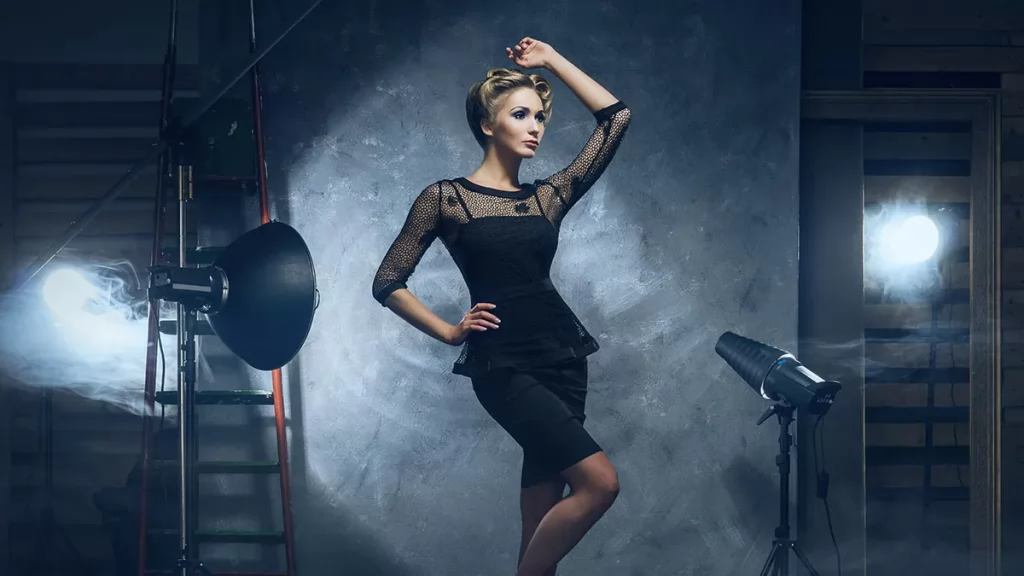
Continuous lighting is extensively used in videography and cinematography. The ease with which different moods are created and emphasised also makes this a viable option in a product, still life and macro photography. And just like flash lighting, the light intensity can be modified with the use of diffusers and gels, albeit there are fewer options here than for dedicated speedlights and strobes. The main use of continuous lighting though is in portrait photography. This can be in a controlled setting like a studio, as well as outdoors where continuous main and fill lights help photographers control hard natural lighting.
Types of Continuous Lights
There are three types of continuous lighting, each bringing its own flavour to each shot.
Tungsten Lights
Tungsten lights are an affordable way to get into studio portrait and product photography. They produce warm and rich tones, usually going on yellow. And this can be used for different effects in portraits, as well as subject separation in darker settings (with added bokeh in the mix). The colour temperature of tungsten lights is around 3200K, so make sure to bump up the white balance if you’re after something more like daylight. Though they’re the cheapest continuous lights and offer quite a lot of output per bulb (up to 500 W), tungsten lights get hot quick (hot lights are another name they go by), use more than a decent run of power, and won’t last as long as other options.
Fluorescent lights
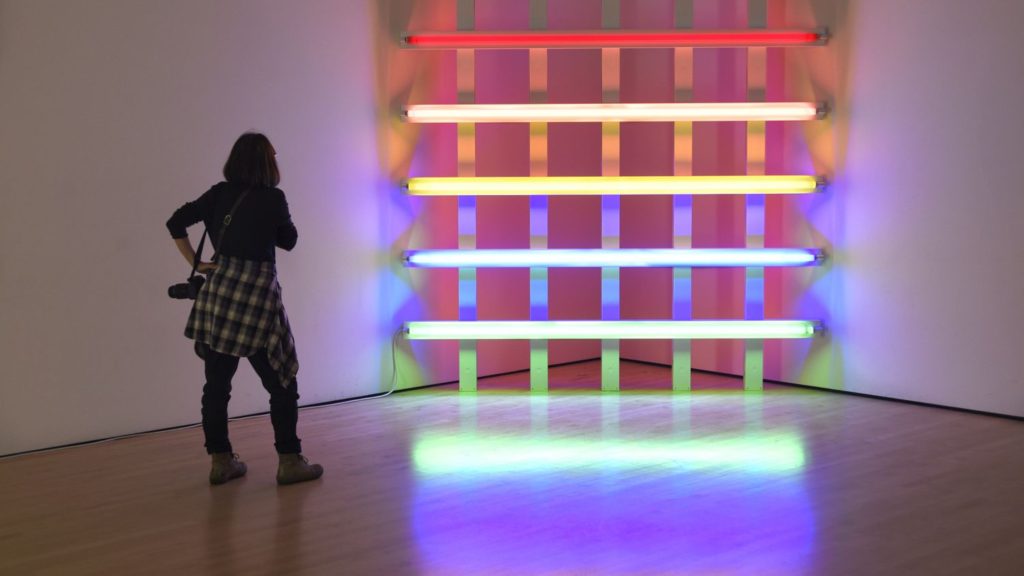
These are closer to daylight, with a colour temperature of around 5600K. Compact Fluorescent Lights (CFLs) are efficient and durable, don’t get hot, and aren’t power-hungry beasts like tungsten lights. They’re also affordable, and easily replaceable. The downsides, though make CFLs not quite the photographer’s favourite. Cheaper CFLs give off a bluish, green tint, or low colour rendering index (CRI), so struggle to keep colours natural in your shots, especially with product photography.
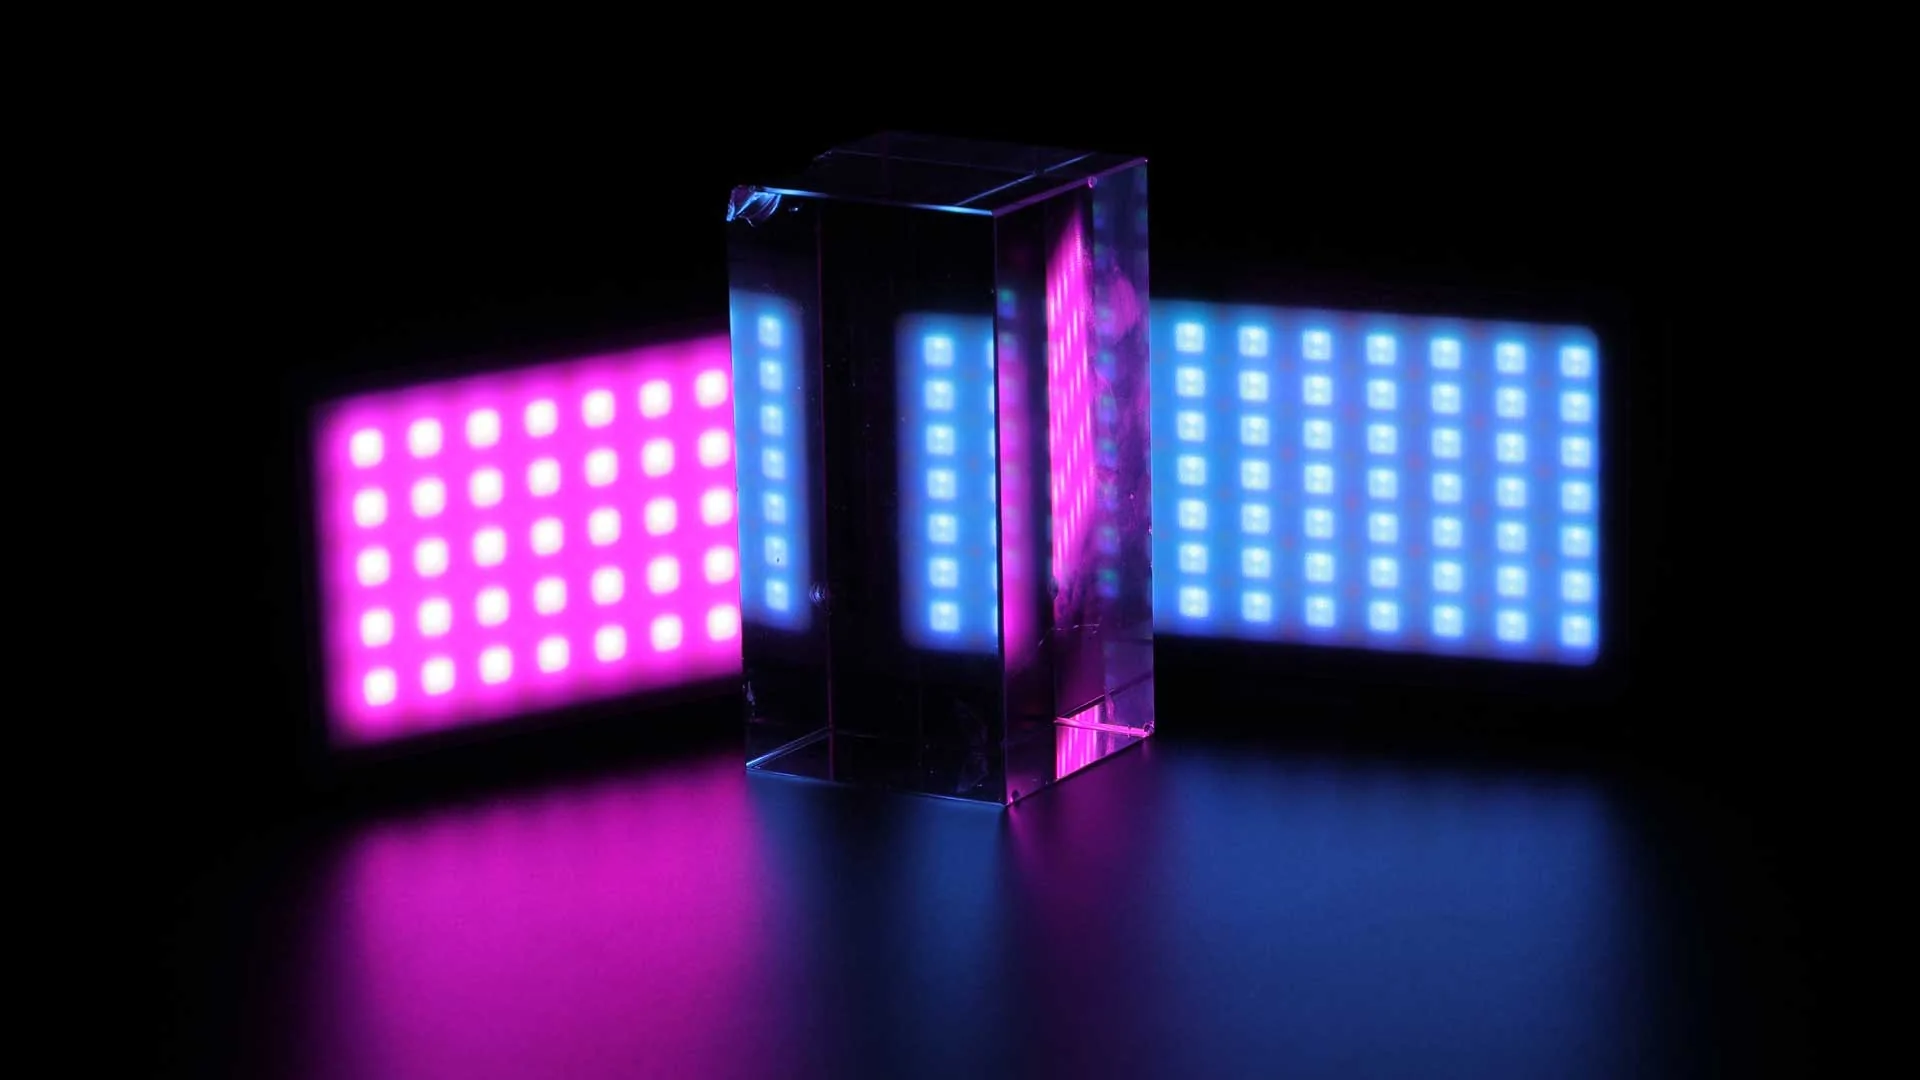
LEDs
LED panel lights and bulbs offer consistent lighting performance. Many are dimmable and versatility is further improved with adjustable colour temperatures (bi-colour LEDs). This ranges from tungsten to daylight, so different effects can be achieved from the same bulb or LED panel. There’s negligible heat, low power use, and extremely high durability. LEDs also have natural colour rendition (with high CRI), and higher-end options promise flicker-free performance so different shutter speeds can be used for different effects.
What to Look for in Continuous Lights?
Photography gear Is an investment, and working pros know the value of their gear. When purchasing a studio continuous lighting kit, look for lights that allow for colour temperature adjustments, high colour rendering indices (CRIs), quality build, and ease of use.
LEDs are best in this respect, as they reach more natural colour temperatures and tints, especially in portraiture and getting natural skin tones. CRI is the measurement of how colours look when compared to natural light. The closer this number is to the maximum rating of 100, the more accurate the lighting will be in revealing the colours of the object.
Quality build means lights will last longer in different settings while providing consistent lighting. Metal housings, built-in and silent fans for heat dissipation, and sturdy mounts and stands are worth the few extra dollars.
Ease of use and portability is increased with adjustable brightness levels, mains or battery power as switchable options and included wireless remote control.
Fully-featured kits come with all you need (including carrying cases) and work well both in the studio and for outdoor use.